If you need to drain gas from your generator, you’re probably wondering where to start. Removing old fuel is important for storage and maintenance, but it can seem tricky at first.
By following a few simple steps, you can drain the tank safely and efficiently.
Keep reading for a straightforward process you can do on your own.
Step 1: Drain the Fuel Tank Safely
To safely drain the fuel from your generator, move it outdoors or to a well-ventilated area, away from flames, sparks, or any ignition sources. First, turn off the generator and let the engine cool completely to prevent burns or fire hazards. Disconnect the spark plug wire and shut off the fuel valve if your model has one to stop fuel flow and reduce spill risks. Wear chemical-resistant gloves and safety glasses for protection against fuel splashes and fumes. Use a fuel-safe drain pan positioned underneath the tank to catch spilled fuel. Keep absorbent materials nearby to clean up any leaks quickly. Carefully remove the gas cap to release pressure, then use a hand pump or siphon to transfer the fuel into an approved container. Before draining, inspect the fuel for contamination—such as water or debris—especially if you plan to reuse it. Once the tank is empty, tighten the gas cap securely to prevent leaks. For whole house systems, understanding performance and lifespan differences between brands like Generac and Kohler can influence long-term maintenance decisions. A battery trickle charger maintains the battery at full charge by delivering a small, steady current, similar to a float charger. For generators equipped with an electric starter, maintaining the battery with a reliable charger is essential to avoid the need for top car battery reviews when troubleshooting a dead unit.

Stores oil for changes with eliminate mess and clean up when changing oil using this reliable oil drain pan.
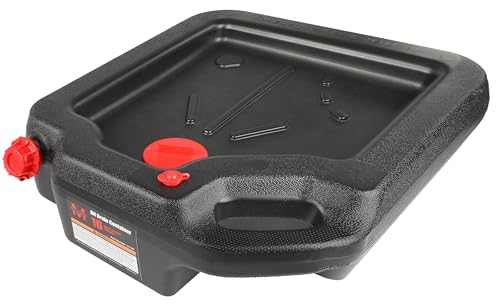
Large 16-Quart Capacity for Big Jobs – Designed to handle high volumes of oil and fluids from trucks, SUVs, and agricultural equipment without overflow

Easy to clean and carry portable oil drain pan from Capri tools
Step 2: Drain the Carburetor to Prevent Clogs
To drain the carburetor, loosen the drain screw at the bottom or side of the carburetor bowl just until fuel begins to flow. Place an approved container underneath to catch the fuel. Make sure the generator is off and remove the fuel cap to allow airflow. Do not remove the screw completely; just loosen it enough to let the fuel drain. Allow the carburetor to drain until the flow stops naturally, then tighten the screw securely. For thorough cleaning, also remove the float bowl for inspection and cleaning. Wipe up any spills and reinstall any panels if removed. For safe handling, avoid creating sparks near the fuel by working in a well-ventilated area as recommended for jump starters. Draining the carburetor helps prevent ethanol residue and varnish buildup, which can clog jets and affect starting performance during storage. Regular deep cycle battery testing uses similar preventive steps to avoid buildup-related failures. If you plan to store the generator long-term, consider building a DIY generator enclosure to protect the unit from weather and debris.

2-1/2 inch carburetor stud set

Wide Compatibility: This carburetor rebuild repair kit is compatible with Honda engines such as GX120, GX160, GX200, GXV120, GXV140, and GXV160. It also fits Predator 212cc 6.5HP/5.5HP engines, Coleman CT200U 196cc, Baja Mini Bikes, Go Karts, and Harbor Freight Predator models 60363, 68121, 68120, 69727, and 69730.Perfect for generators, lawnmowers, water pumps, ATVs, tillers, and more

【Extensive Use】Carburetor float bowl kit is widely used in the fields of Start Electric Generators/Lawnmowers/Outboard Motors/ Water pump/ATV /Mini bike /Tillers/ Go kart, and Agricultural Engines
Step 3: Run the Engine Dry to Clear the Fuel System
Running the engine dry eliminates the remaining fuel from the system, preventing varnish and gum buildup that can clog jets and valves. After draining the carburetor, disconnect your electrical load, then close the fuel valve while the engine is running. Allow it to idle and sputter until it stops due to fuel starvation—avoid forcing an abrupt shutdown. For safety, keep the generator outdoors, away from windows and ignition sources. Once it halts, let the engine and exhaust cool completely before touching any fuel parts. Brief sputtering during this process is normal, especially under lean conditions. Smart chargers can help maintain battery health during extended generator storage. This step ensures minimal fuel residue, although it does not replace proper tank draining if stale fuel remains. For added protection, you can add Stabil fuel stabilizer to the tank before draining to prevent corrosion in the fuel system. Unlike kerosene, which can gel or freeze at low temperatures and require special handling, gasoline generator fuel must be completely drained to avoid gumming issues.

Great Product
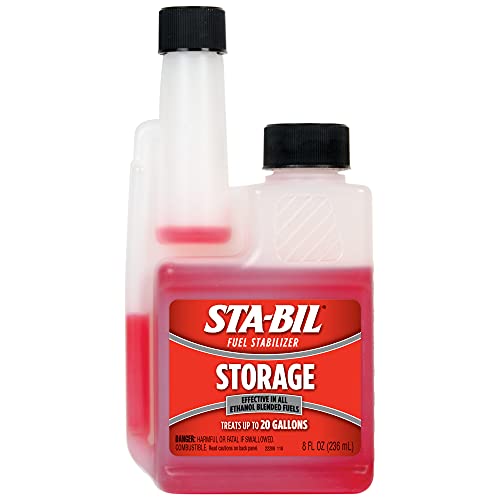
PRESERVES FUEL: This fuel stabilizer ensures keeps gasoline fresh for up to 24 months for storing vehicles that are not in use, boats, outdoor power equipment during winter months, or stocking up on fuel.

PRESERVES FUEL: This fuel stabilizer ensures keeps gasoline fresh for up to 24 months for storing vehicles that are not in use, boats, outdoor power equipment during winter months, or stocking up on fuel.
Step 4: Store or Dispose of Drained Gasoline Properly
Store or dispose of drained gasoline properly to prevent fire hazards and environmental contamination. Use an approved gasoline safety can—never a milk jug or glass jar—and keep the cap tight to limit vapors. Store the container in a detached, well-ventilated area away from pilot lights or heat sources. Do not exceed local storage limits, which are usually around 25 gallons total. For a longer-term solution, consider pairing a backup generator with a battery backup system to reduce fuel reliance.
For old or contaminated gasoline, avoid pouring it down drains or onto the ground. Instead, take it to a local hazardous waste collection site or an auto repair shop that accepts fuel. Immediately wipe up any spills to prevent accidental ignition. Follow your area’s disposal regulations strictly to remain compliant with hazardous waste laws.

CONTROLLED FUEL TRANSFER: The patented manifold and Safe-Squeeze trigger provide smooth, glug-free dispensing with improved flow control. This safety gas can helps reduce spills and supports more accurate fuel transfer

Fits Your Needs - Type I safety cans have a single opening for filling and pouring fluids. They are used to safely store, transport, and dispense flammable liquids.

SAFER FLAMMABLE LIQUID STORAGE: Designed for the safe storage, transport, and dispensing of flammable liquids, this Type I safety can reduces fire hazards while supporting safer fuel handling in industrial facilities, workshops, and maintenance operations
Step 5: Final Checks Before Storing Your Generator
Before storing your generator, perform a thorough final check to ensure it is safe and ready for long-term storage. Start by confirming the unit has fully cooled down to prevent any risk of burns or fire. Wipe down the exterior surfaces with a clean cloth to remove dirt, dust, and debris that can attract pests or cause corrosion over time. Look closely for any oil stains or fuel residue around the engine and fittings; address any leaks immediately as fuel leaks pose safety hazards and can lead to damage. For a top-tier model, this step is as critical as choosing one of the best standby generators for reliable long-term performance. Understanding the difference between starting watts versus running watts helps you choose an inverter that can handle motor-driven equipment without overloading. Additionally, these checks ensure your generator’s internal circuitry remains protected against voltage spikes that can occur during storage.
Next, check the engine oil level using the dipstick, topping it up if necessary to ensure proper lubrication during storage. Inspect the air filter for dirt or damage and replace it if needed to keep dust and debris out of the engine. Remove and examine the spark plug for signs of wear or carbon buildup; replace if it appears worn or fouled to maintain efficient starting.
Inspect all electrical cords and battery terminals for signs of damage or corrosion. If your generator has a battery and it is recommended, disconnect the terminal connections to prevent drainage or corrosion during storage. Finally, position the generator upright in a dry, well-ventilated area. Cover it with a breathable cover, making sure no fuel remains in the tank, and confirm the unit is clean, dry, and protected from pests. This comprehensive walkaround prevents problems and ensures your generator is ready for reliable use when needed.

This oil change kit includes 4 items: 2 quarts Generac 5W-20 full synthetic oil, 070185E oil filter, oil funnel, and oil absorbent pad

Genuine Generac replacement part.
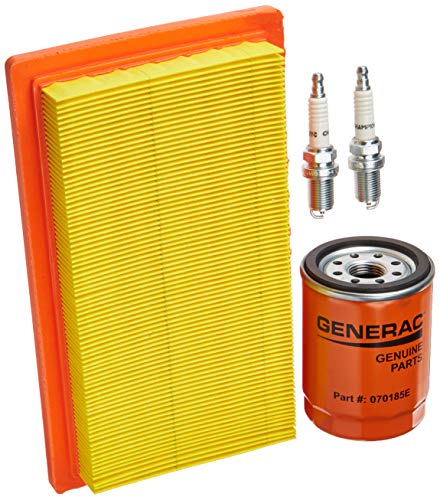
FITS 20KW, 22KW, 24KW, AND 26KW GENERAC STANDBY GENERATORS: Designed for air-cooled Generac, Honeywell by Generac, and Centurion by Generac standby generators with a 999cc V-Twin engine manufactured in 2013 or later